Color Mandalas-A group project
How does art reflect history, culture and society?
How do artists use color to communicate?
How do artists use color to communicate?
|


|


Project sequence:
Phase 1: Individual learning-Value Scale and Color Theory studies
Phase 2: Pie Slice Design, class voting
Phase 3: Groups of 4-Transfer pie slice
Phase 4: Painting -1 quadrant per group member
|
|
Color Theory Infographic from Sean Ferguson on Vimeo. |
Phase 1: Individual Learning
Resources
Interactive Color Site
Adobe Kuler Color Wheel Site
TigerColor Resource Site
What is color?
Color Theory-Hue, Value, Chroma
Psychology of Color-emotional language
Color associations: Individual, Universal, Cultural
Color Trends
Color in Art-Mr Gif
Interactive Color Site
Adobe Kuler Color Wheel Site
TigerColor Resource Site
What is color?
Color Theory-Hue, Value, Chroma
Psychology of Color-emotional language
Color associations: Individual, Universal, Cultural
Color Trends
Color in Art-Mr Gif
Color Sampler Study
Below is an example of a Color Sampler Study
First, draw and outline in black pen, then move onto acrylic paint.
You must create this using only the PRIMARY COLORS along with white and black
Label your colors and paint neatly in 1 direction.
Below is an example of a Color Sampler Study
First, draw and outline in black pen, then move onto acrylic paint.
You must create this using only the PRIMARY COLORS along with white and black
Label your colors and paint neatly in 1 direction.


|

|
Color Scheme Study
Now you will explore color scheme relationships and experiment with 3 different color schemes in 1 connected abstract design.
In your chosen color schemes, you should use at least 4 different colors, include a range of VALUES (tints, tones or shades)
Make sure to label each of your schemes with the appropriate name.
Adobe Kuler Color Wheel page -experiment with 3 different color schemes

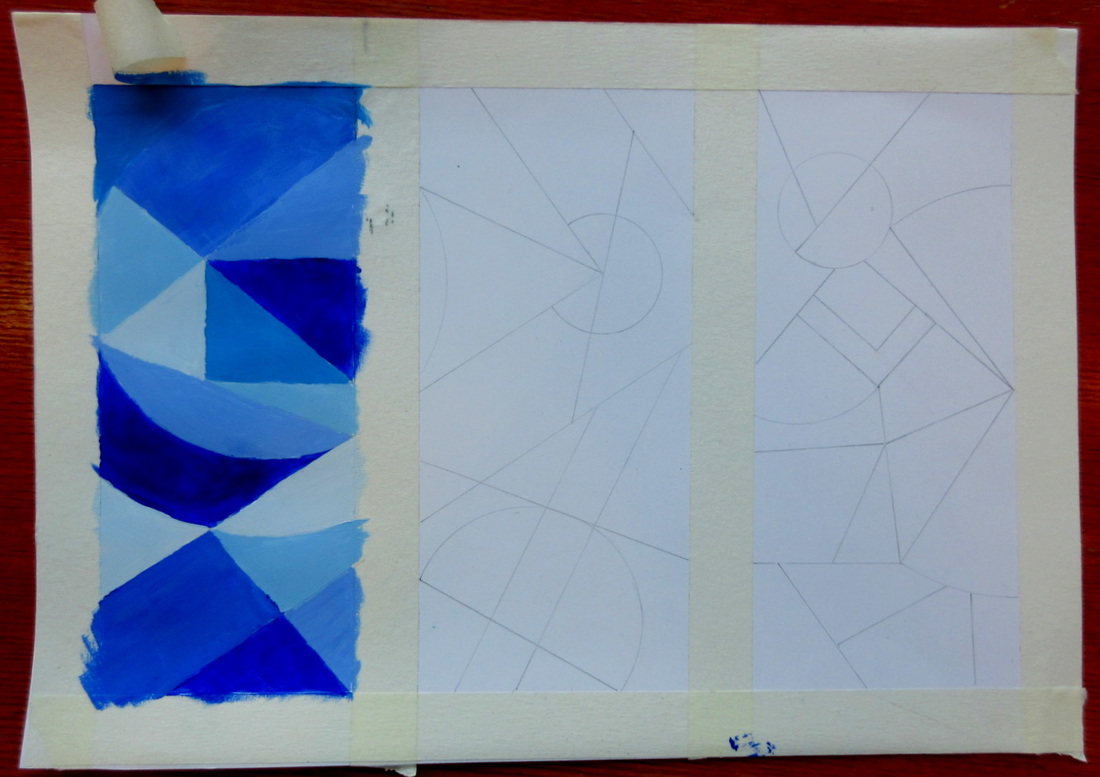
Below is an image showing how we got started with this. Use masking tape as well as a ruler to draw out your geometric design in pencil. Keep it simple, so stay away from small shapes.
Color Vocabulary Presentation
In your sketchbook, take notes in your own words explaining the definition of each of the vocabulary words on the list.
The vocabulary words are in pink so you know what to look out for.
The vocabulary words are in pink so you know what to look out for.
After the presentation, you should find 3 different portraits and analyze them based on color. Use the descriptive vocabulary we just learned about.
Links for portrait galleries:
#1
#2
Let's look at the color schemes used in some famous paintings.
Links for portrait galleries:
#1
#2
Let's look at the color schemes used in some famous paintings.
Phase 2: Pie Slice Design
Radial Balance Presentation

Mandala Exploration (in sketchbook)
You should choose 2 mandalas from different cultures and download/take screenshots of each of them.
Complete the analysis by hand or on your laptop. Use powerpoint or google drawings (my example below was made with google drawings) or any other program that will be useful.
Use the Pinterest Board above as a reference to choose 2 mandalas you are drawn to. 1 of the mandalas should be in color.
Analyze:
-the ELEMENTS of art
-the PRINCIPLES of design
that are apparent in the mandala design
Below is an example:
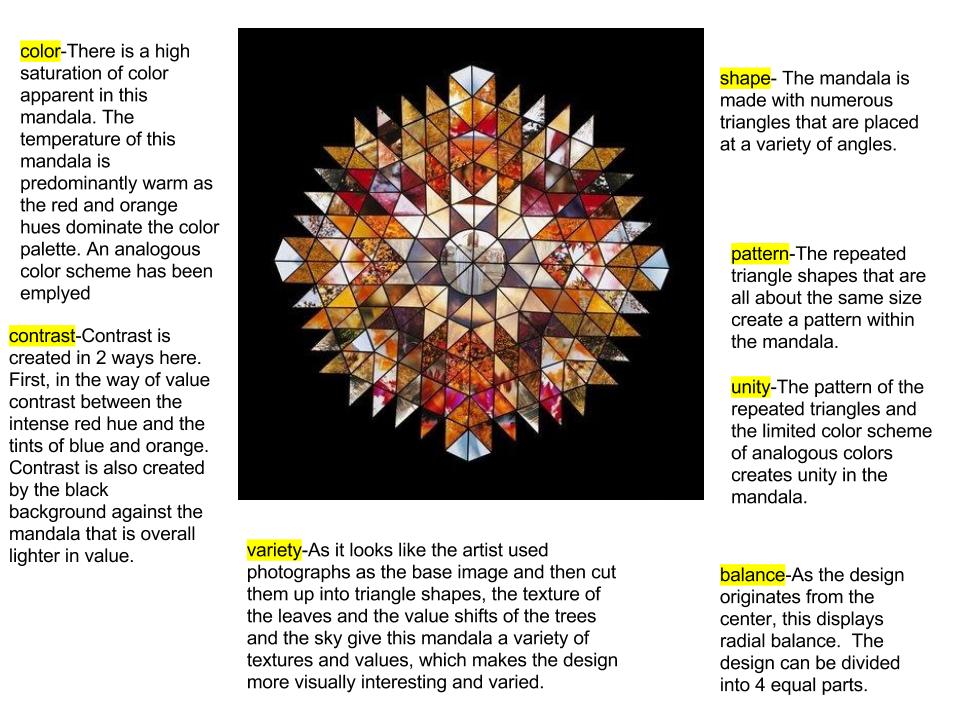
Mandala No. 2 by Lisa Eisner
Designing you final slice for the mandala
-Your final slice should have at least 10 shapes
-Outline in Black pen over pencil
-Erase pencil
-Write name on sheet
-Photocopy it
-Give Ms Z the original (front table)
- On the photocopy, you will choose 1 color/hue to paint it in
When painting, think about:
-Where do you want to show EMPHASIS? Pure hue and tints will advance and shades will recede
-You must include:
--pure HUE
--3 tints
--3 tones
--3 shades
Last step before voting:
Borrow a camera, or use your phone to take a photo of your final painted slice. Upload it to our class folder:
Connect to the Student Server, go to Student-Teacher Workfolders < Z_HS ART < ART 1 < Class number (A1 or A4) < Mandala Slice <Upload your photo (no need to put your name as the voting should be anonymous)
Phase 3: Getting in groups and tracing the design
Get in your groups of 3-4.
Divide the large square paper into 4 quadrants, mark the midpoint
Photocopy winning design for each person in the group.
Each person should have some masking tape, pencil, photocopied slice (cut out) and transfer paper.
Each group member begins the tracing of the photocopied slice.
Each quadrant should fit 3 slices. Be careful to plan for 3 slices to fit as best as possible in each quadrant. Each slice is close to 30 degrees but perhaps just a tad smaller, so you may get leftover paper space if you don't plan.
Communicate and problem solve with your team members!